Please note that this post contains affiliate links, which means that if you click on one of the product links, I’ll receive a small commission. That being said, I only recommend products that I use and love, and hope you'll use and love too!
Does your spice cupboard look like this:

Like finding a needle in a haystack.
If so, you are like the majority of us.
When the hubby and I were registering for gifts for our wedding, we decided we really wanted to have a magnetic wall spice rack for our kitchen (see picture above for reason why!). We received the spice rack tin, but never any of the magnetic spice tins. When I went to go buy them myself, I realized that they were SUPER expensive (roughy $2-3/tin). I was hoping for roughly 20-24 tins, and if you do the math, that really adds up.
So what's a girl to do? Figure out how to make some magnetic tins of my own, for a fraction of the cost.
Here's how I did it:
Step 1) Buy a magnetic tin wall base. My husband and I registered for this one, and have been quite pleased:
Step 2) Find some containers to hold your spices in. I found a pack of 6 favor tins at Hobby Lobby for $3.99, annnndd they were having a 50% sale. I ended up buying 4 packs for roughly $8. Score! Side note: make sure that the tins say 'food-grade' on them (or something similar stating they are suitable for food) and that you wash and COMPLETELY dry afterwards (very important for when we get to step 5!).
http://www.hobbylobby.com/Party-Baking/Themed-Party-Collections/Baby-Shower/Round-Favor-Tins-with-Clear-Lids/p/57651 (not an affiliate link)
Step 3) Buy some magnets. I bought these at Hobby Lobby as well and have plenty of leftovers for other projects.
http://www.hobbylobby.com/search/?text=magnets&quickview=25769 (not an affiliate link)
I bought glue thinking I would affix the magnets to the containers, but it ended up being unnecessary. I can just grab the container off the magnet and put it back up when done using.
Step 4) Create labels for your spice tins. It will be virtually impossible to differentiate between some spices and herbs once in the containers, so this is a MUST DO! It will also help keep direct light off your spices, which can damage them.
I bought Avery labels product number 22807 (2" Print-to-the-edge-round-labels - see below to buy on Amazon!) and then customized them on their site (they cost $8 and you will only use 1-2 sheets out of 10 depending on how many tins you want). I went with the black chalkboard-looking design with the cute cursive print. Just type in the names of which specific spices/herbs you'll be using, format to print and ta dah!
Step 5) Affix labels onto tins. You will want to make sure both tins and covers are completely dry or your labels will get ruined. Also- try not to touch labels with wet hands in future as the ink will smudge.
Step 6) Fill tins with spices/herbs. Be sure to not overfill.
Step 7) Place magnets on board, place tins on magnets, and you've got yourself a magnetic wall spice rack (for less than $40!).
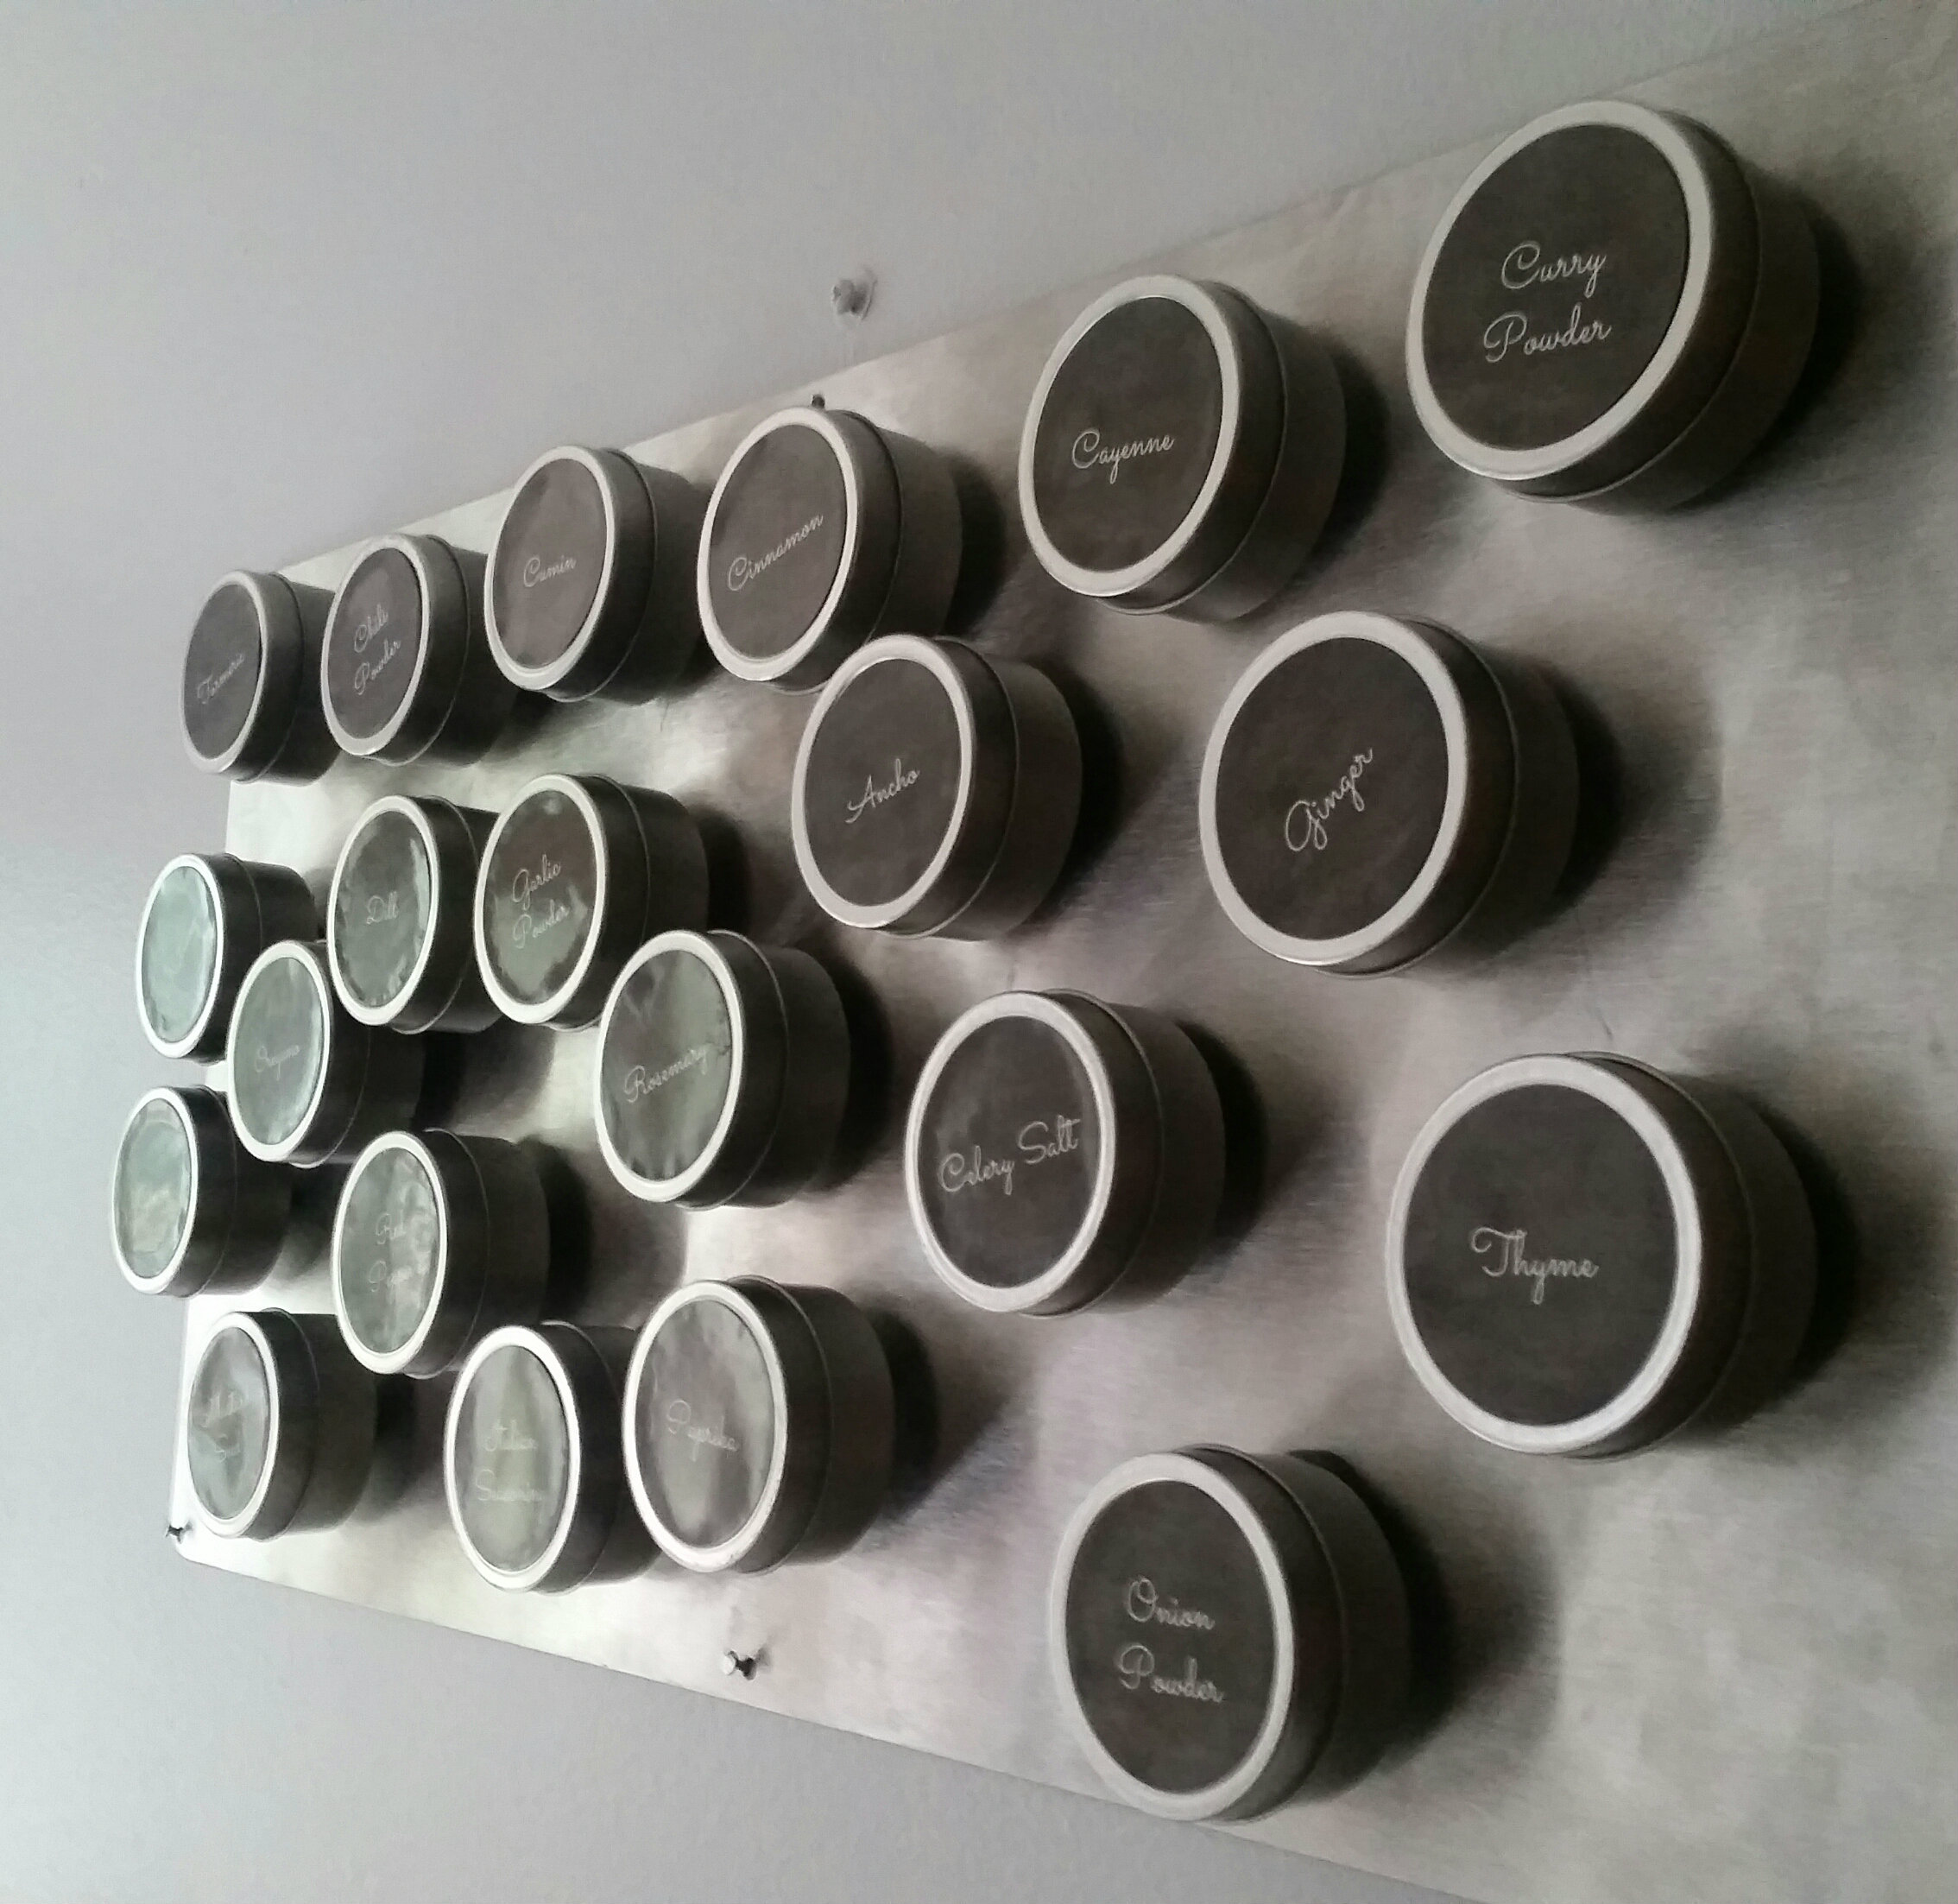
No more frantically digging through the cupboard to find the spice I need!
